Writing your thesis with LyX - Part I
Days ago, I was discussing with a colleague how to write a Ph.D. thesis. We agreed that the very first thing one should do is define a workflow to get the actual writing going seamlessly. Therefore, it is always worth the time to define it, so you take care of the relevant things: the content. He is starting to write his thesis and since I already passed through this process, he asked me how I did it.
My answer was not any different from other STEM graduate student: I used Latex. This answer is a bit ambiguous because there are many ways to use Latex, for example:
- Overleaf: a web-based editor.
- TexWorks, TexShop, and others: a local Latex editor.
- LyX: a “what you see is what you get” (WYSIWYG for short) editor.
As the title suggests, I used LyX. Even though this software is popular, it remains not as widely used as I would have expected. I think it is worth a try because it is an extremely efficient way to work with Latex for long or solo documents. In this first post, I will justify this claim by digging into its basic functionalities and main perks over raw Latex code.
1. Why should you use LyX?
-
Less proofreading: reading text from the LyX goes smoothly. The interface is not cluttered with Latex code. In this sense, some major perks are:
a. Smart spell checker that goes continuously throughout the text.
b. Equations get visualized in real-time as you type them. No more recompilations to get a nasty mathematical expression written!
c. Concise view of the headers of sections, showing large and bold fonts for them.
d. Real-time view of the tables, images, etc, and their caption.
If these reasons are not enough for you, bear with me, the list continues.
-
The intuitiveness of using a GUI interface. All the menus are very ‘‘MS Word’-like. With a few clicks, you will get anything done.
-
Cross-reference management. Simply add a label using the menu. Invoke your crossed reference anywhere else in the text or other documents or even if they compose a larger project.
-
Painless formatting of your BibTeX. You can define a uniform style of references just by loading the .bib file and a few clicks.
-
Customize all the shortcuts for any specific function that you want.
-
Want to see the Latex code equivalent of what you have done? Sure! There is a panel just for that!
-
Export your work:
pdflatex,xelatex,pdf… you name it! The output is real Latex.
For all these reasons, I think LyX is a perfect suite for long documents making the writing easy and at the same time guarantying optimal quality of the output efficiently.
2. Minimal example
I will not cover the setup of this software as it is straightforward. It is available for MS Windows, OSX, and Linux. You can download it here.
2.1. Interface and first steps
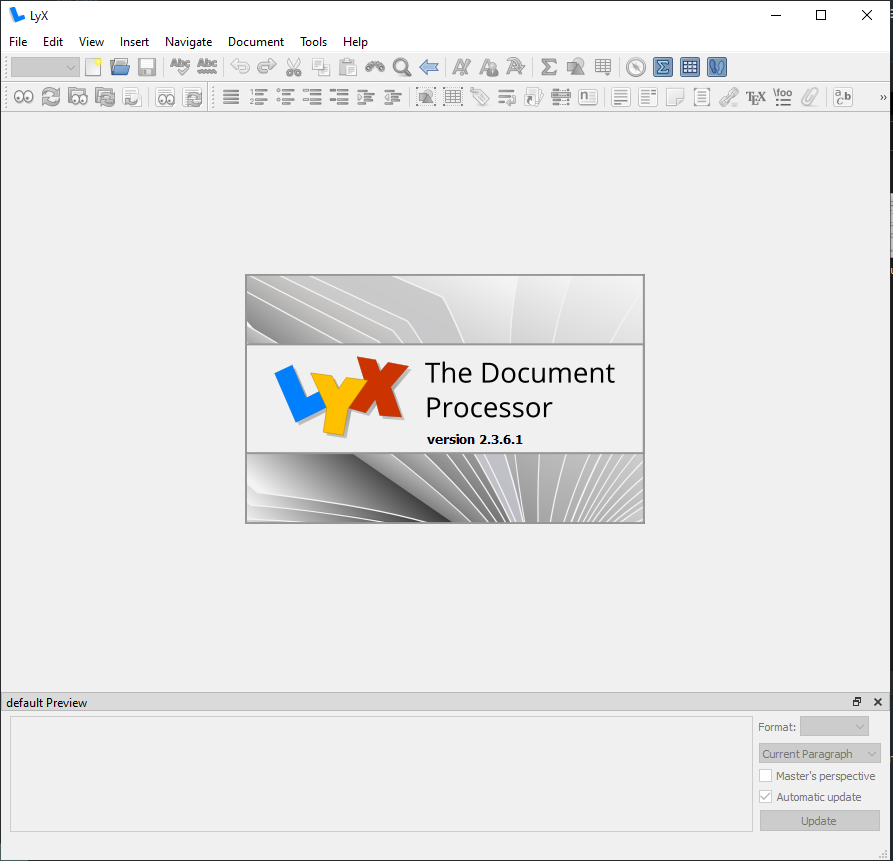
This is how the interface looks. It is not the most compelling thing in the world, but with a few tweaks, you can convert it into something nicer.
My typical first step is to choose a Latex class for this document. This will define the type of sections available, how it handles the formatting, etc. If you don’t know what a class is, just think about it as the equivalent of picking an MS PowerPoint or MS Word template.
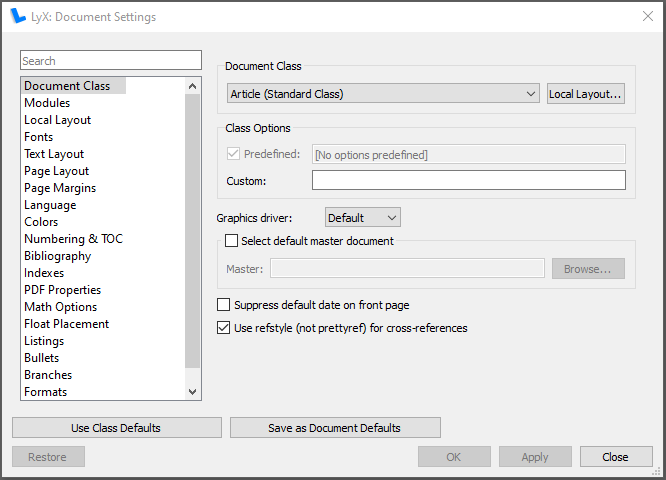
Let us keep the things simple and we will use the most basic one which is the default: ´article´.
We can define the margins and other useful parameters like the default fonts of our outputted pdf.
Now, let’s get some work done.
2.2. Hello, world
Using the top left corner menu, we can choose what we want to write. The options depend on the template you have chosen. Since we are using “article” these options are rather limited. Let’s write a title, set our author’s name, and write some text.
Let’s add an equation in “presented mode” by using the shortcut ctrl+shift+M. The input can be done in Latex code or using the buttons that appear at the bottom.
Then, we compile our work using ctrl+R and we get a nice view of the outputted pdf. Neat, isn’t it?
There are several classes (templates) and exporting formats in which you can play around and explore.
2.3. Adding floats
Another basic functionality that you will appreciate is how to add floats. Let’s add an image and a table to our document.
This still looks pretty terrible, but we will not deal with the fine-tuning by now.
3. Closing remarks
So far, we have discussed just the tip of the iceberg on LyX functionalities. If you are an advanced Latex user, you can certainly use your knowledge here as well, since LyX offers the possibility to embed raw Latex code to extend its functionalities.
In the next posts speaking about this, I will keep it simple, because our main goal is to discuss how to write a thesis with it. The possibilities are endless; a complete book might be written about this fantastic piece of software. Stay tuned!